
Example import using Auth0.com
Create Auth0 Application
At this point, you should have an Auth0 REST API which you would like to import into eazyBI. Edit your API and make sure that the offline access for your API is enabled, if not then enable it and press "Save".

Now you should create a "Regular web applications" Auth0 Application for eazyBI.
Create eazyBI REST Application
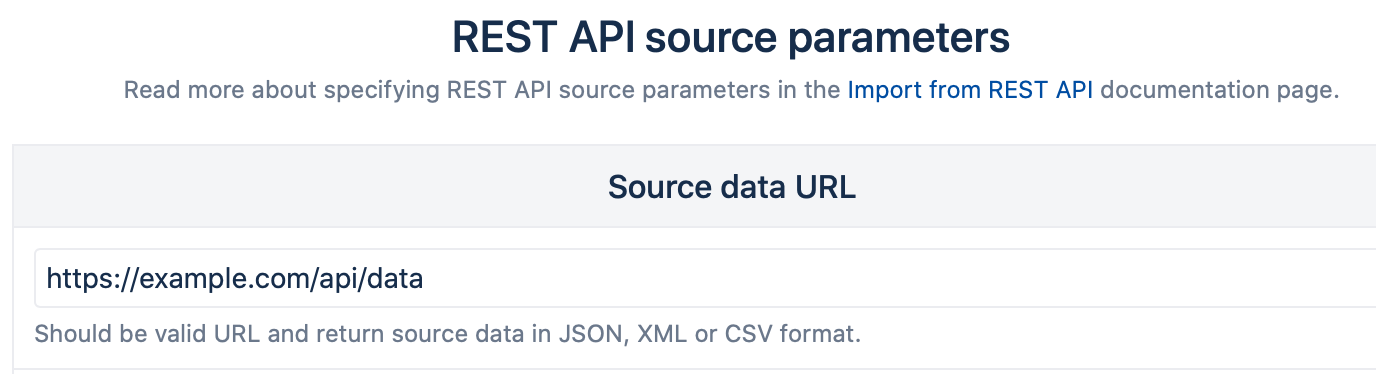
Now in a separate browser tab create a new eazyBI REST Application with the URL to the API you want to import.
Then choose "Oauth 2.0" and fill out the following fields:
| ClientId | Copy from Auth0 Application settings page |
| Client secret | Copy from Auth0 Application settings page |
| Scope | Must contain "offline_access" scope, so the refresh_token is provided. More scopes could be added, how to use them please read at Auth0 docs. |
| Authorize URL | It consists of <Your Auth0 Domain>/authorize?audience=<URL encoded API identifier>. Copy Domain from Auth0 Application settings and the API identifier from your desired API settings. Make sure you URL encode the value. |
| Token URL | It consists of <Your Auth0 Domain>/oauth/token |

Update Auth0 Application settings
Now copy the "Redirect URL" and go back to the Auth0 Application tab and paste it into "

Make sure that you select "Non-Rotating" option in the field "Refresh Token Behavior" and press "Save changes". You are done configuring Auth0.
Import data
Now in eazyBI Application page press "Continue" and if everything is correct you should be asked to authorize the eazyBI application to access your API and after that you will be redirected to data mapping page.